Make it, one step at a time.
Choose the memories
Use copies, not irreplaceable originals. Ask permission before using another person’s photo. A little drawing works just as well as a photograph.
Cut the frames
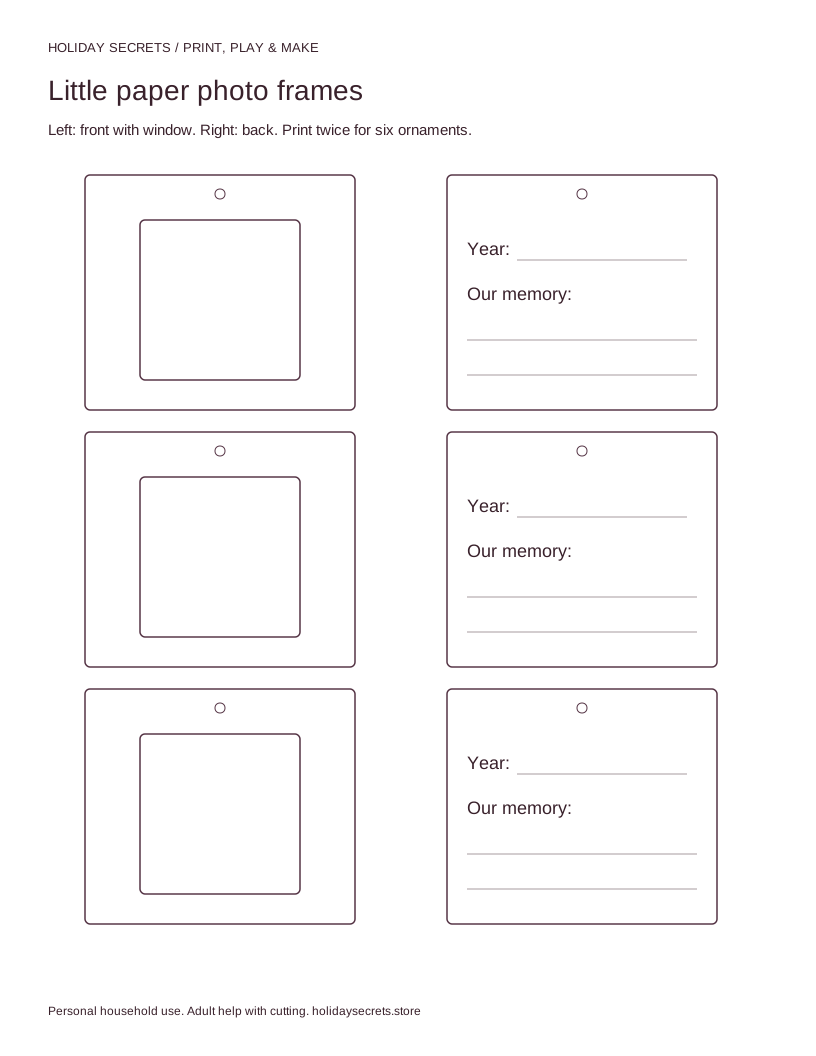
Print the ornament template. Cut each outer frame and back panel. An adult cuts the square window in the front using scissors; skip the window entirely for a drawing glued on top.
Build a sandwich
Glue the photo behind the window, then glue the back panel on. Check that faces are visible and edges match before pressing gently flat.
Add the story
Write the year, a first name or initials if desired, and a sentence about the moment on the back. Leave the piece flat until the glue sets.
Hang thoughtfully
Punch the top hole and tie a short loop. An adult hangs it away from heat, flames, and reachable cords. Paper decorations are not toys; store out of reach of young children and pets.
The simpler version
Glue a picture onto a single paper rectangle and write the year underneath. Display it on a shelf instead of hanging.
A little help goes a long way
Adult cutting and hole-punching recommended. Keep ribbon and small offcuts away from young children; let children draw or choose a memory.
Before you begin
Wet glue can wrinkle photos. Use a small amount of a photo-compatible adhesive and test with an expendable print first.