Make it, one step at a time.
Trace your pieces
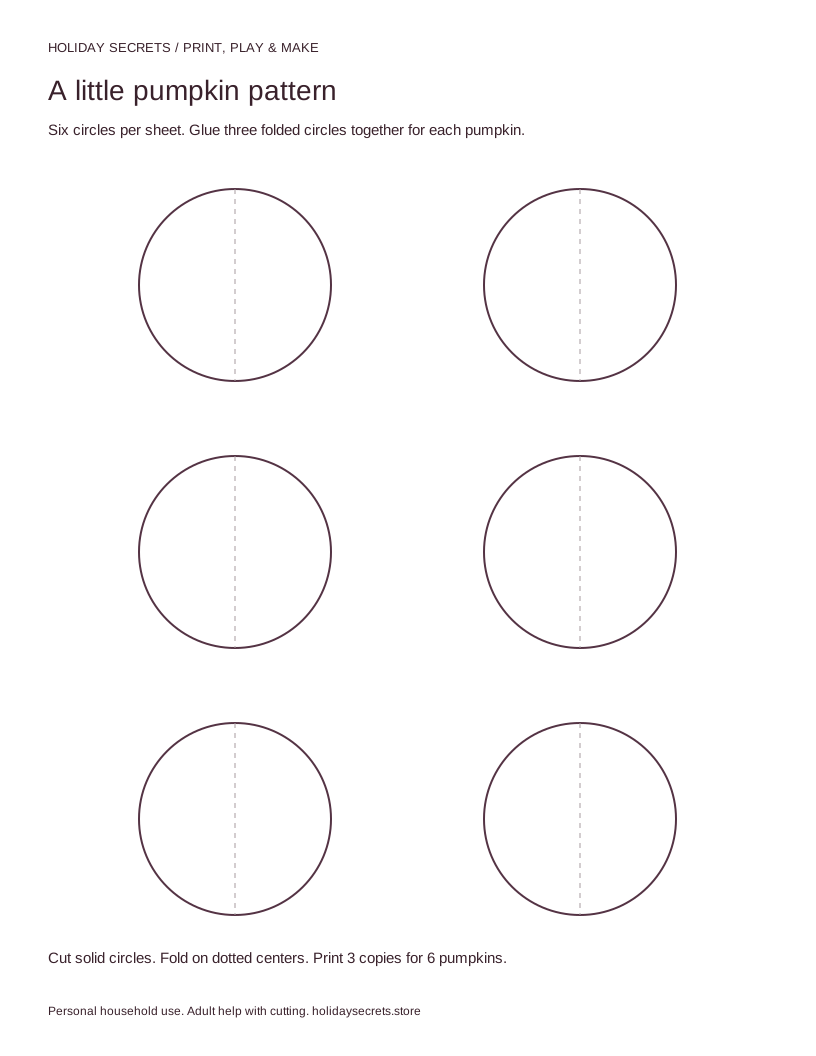
For each pumpkin, trace three circles approximately 3 inches across. You need 18 circles for six pumpkins. Cut one set first to check that the size suits your table.
Fold and join
Fold each circle in half with the colored side inside. Glue the outside of one half to the next folded circle; repeat with the third. Leave the two outside faces unjoined so the pumpkin can open like a tiny book.
Give it a steady base
With the pieces still stacked, snip a very small straight edge across the bottom. Open the folded pages until the pumpkin stands. Trim a little more only if needed.
Add the name
Cut a leaf about 2 inches long from a green scrap. Write a guest name and glue the leaf near the top. Keep it close to the paper so it does not pull the pumpkin over.
Set a welcoming table
Stand one at each place. Tuck a kind-words card nearby, or use the pumpkins to label activity stations. Fold them flat after the party and store in an envelope.
The simpler version
Use one flat paper circle with a leaf and lay it on the napkin. No folding or waiting needed.
A little help goes a long way
An adult can precut the circles. Children can choose colors and write or dictate names. Keep scissors and scraps away from younger siblings.
Before you begin
Too much glue makes thin paper buckle. Apply a light layer, align the bottom edges, and let the pieces set before opening.